Display case. The request is in.

So my wife has been putting together some pieces for a display case for some of her old crocks. We’ve found the pieces, now the fun begins.

So here is the display part. It doesn’t have a bottom, so the table top will be the bottom of the display. It will have one more shelf added.

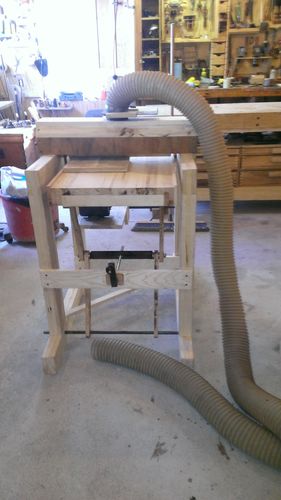
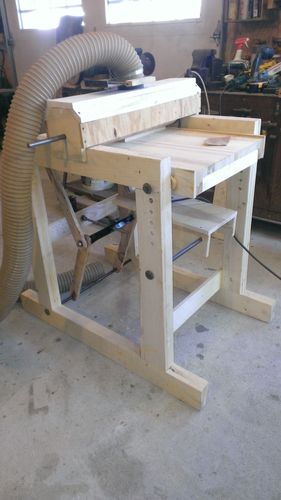
The idea is to make a bench or table that it sits on. Here are the future legs.

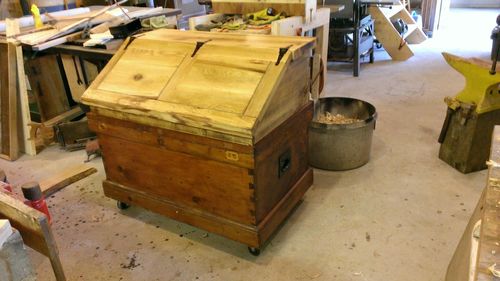
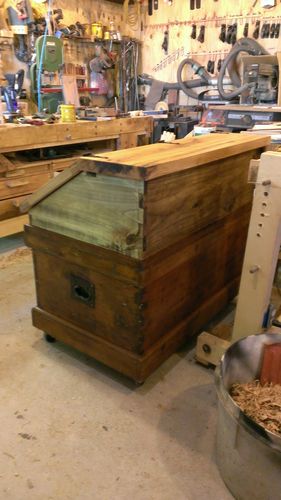
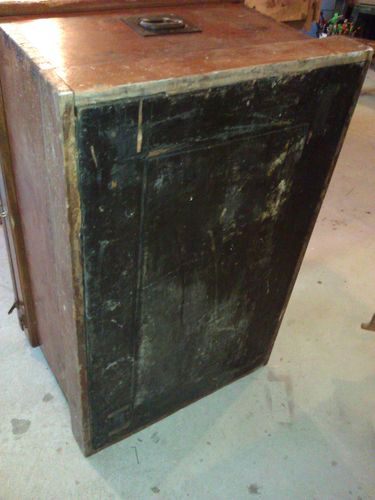
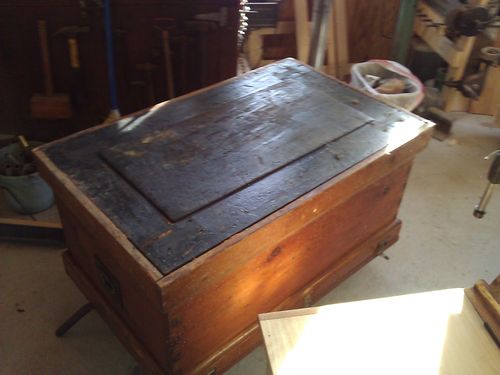
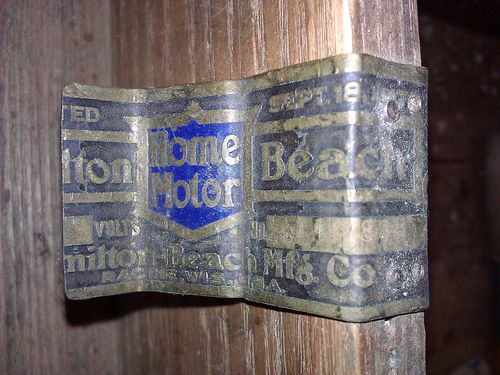
Here is what I have to work with.

The Idea is something like this. I’ll remove the door knob. The make a cut along the red line. Part A will become the table top.

Part D will be the front of the face frame (or apron), with C and E being cut down for the end frames (or aprons). A back piece will be made from dimensional lumber since it will be against a wall and never seen.

I could dowel the frame to the legs. If I did a threw tenon, the end would show, and I don’t want that. I could 45 the corners and notch the legs with inside braces. I’m looking for idea’s.

How would you build it?

Thanks for the input.

The Build begins

After getting home from work,

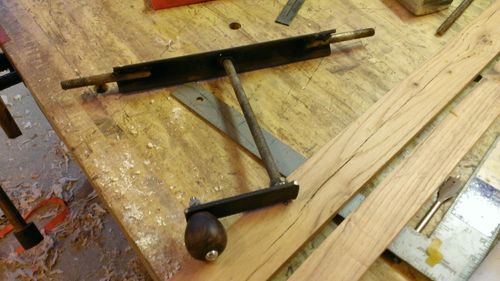
I took a stab on figuring out how this would go together. The first thing I did was took the door completely apart. I managed to find the pins, popped them out and the door was in pieces.

This brought up some old joinery

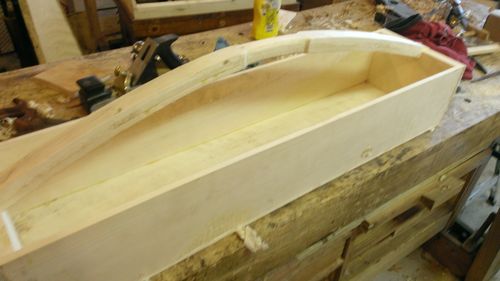
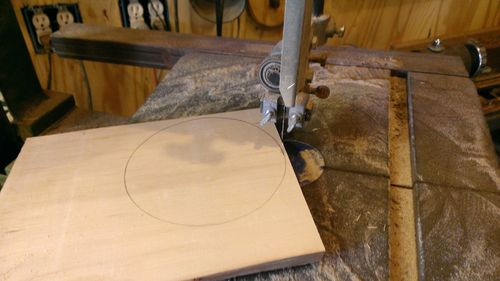
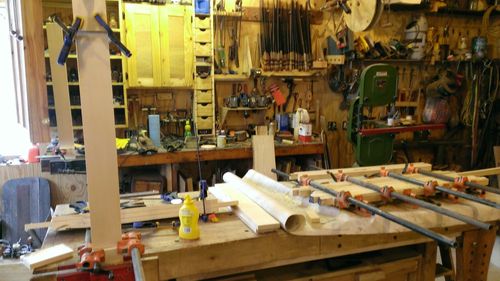
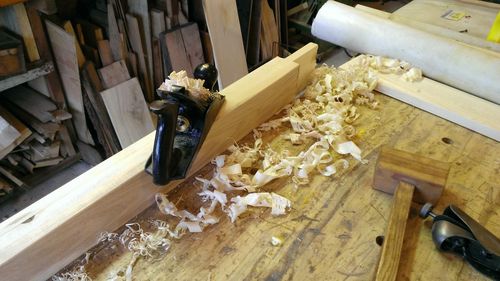
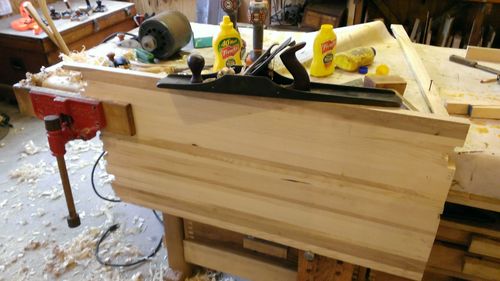
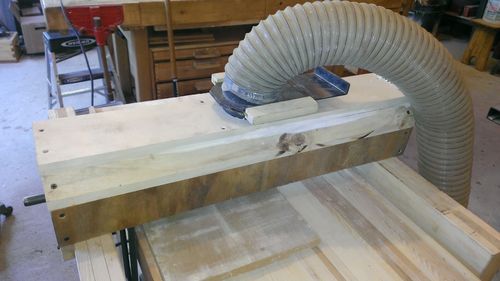
Next I cut the pieces for the top to size.

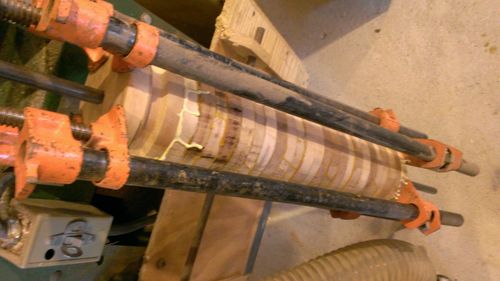
I decided to dowel the frame. It seemed easier and less intrusive to the material around it. I made a template so the dowels all drilled the same.

A dry fit showed it was coming out like I had envisioned.

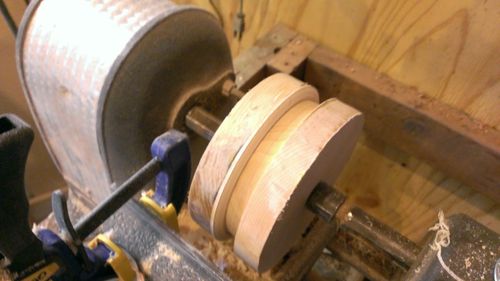
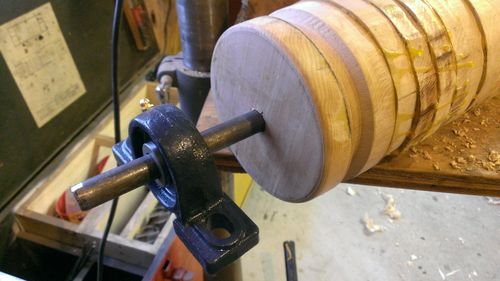
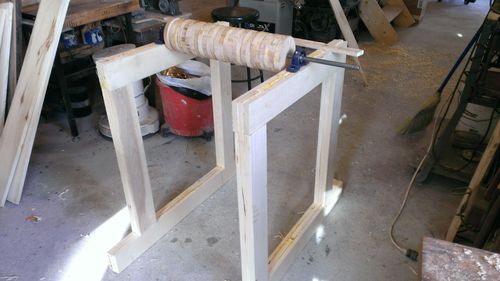
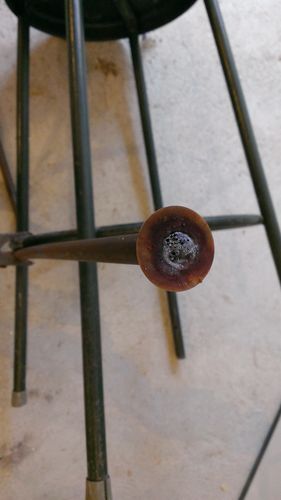
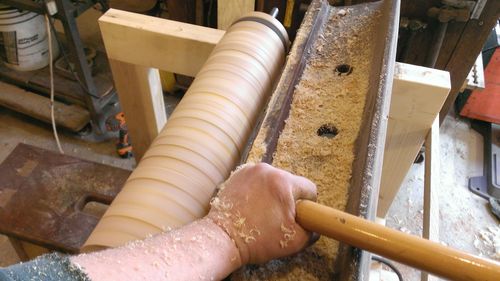
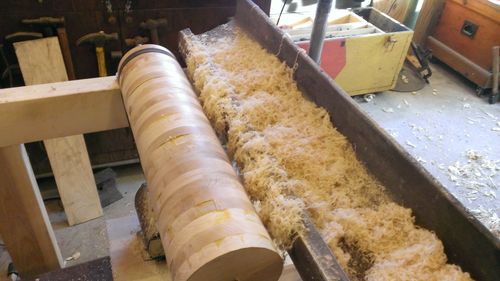
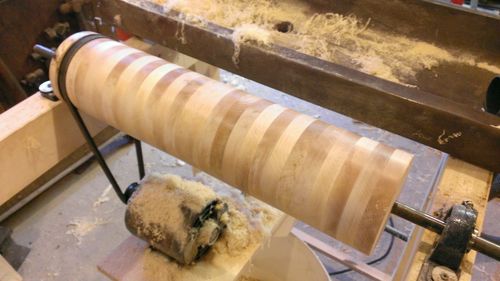
My problem began when I went to grab my dowels. Problem being I didn’t have any. So…….I made some. The 40 mile round trip to Home Depot just wasn’t in my plan.

I like to add a little crimp to my dowels. It help the glue hold and help round them out as well.

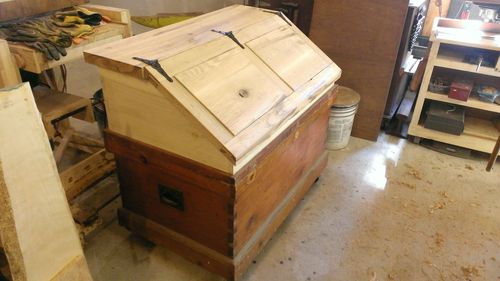
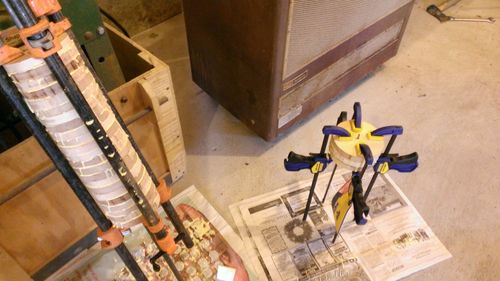
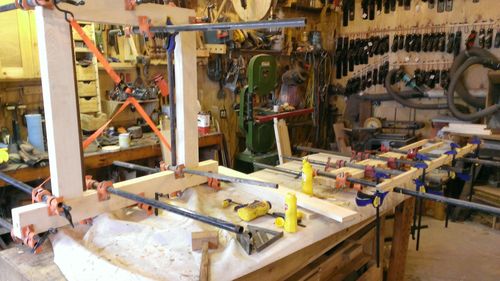
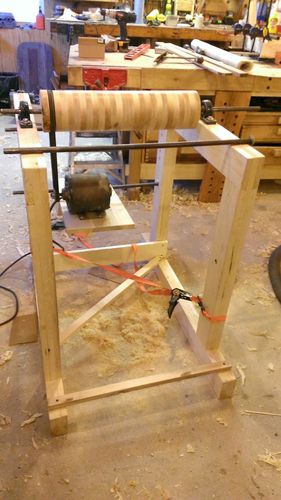
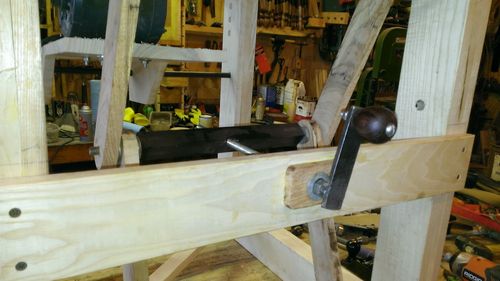
Added some additional support

And Glued it all up.

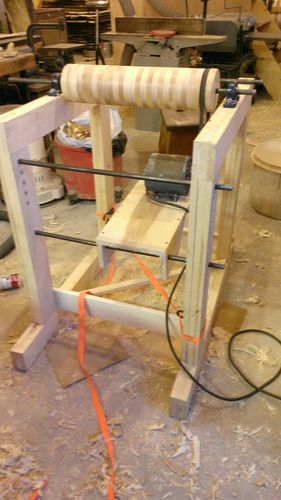
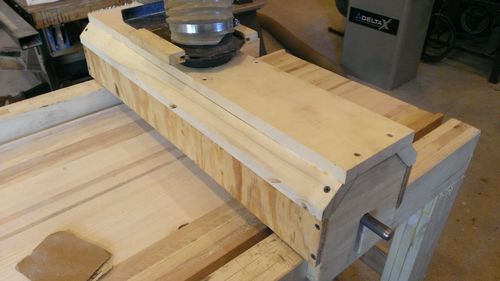
Added some corner brackets

And called it a day

The Beast. A 36" wood bodied Jointer Plane

With a little motivation from Mos I decided to build the wooden jointer I’ve always wanted to build. I’m not sure why, I guess just because its there, but I’ve restore a lot of wood bodied jointers and always wanted to build one.

I had some reclaimed oak that fit the bill fine. This is the same stock I built my deadman out of.

Since it was already semi clean it was just a matter of running it through the planer and cutting it to size. Its just about 1/2” wider than the iron/chipbreaker.

I had found a perfect 2 5/8” Moulson Bros vintage iron and chip breaker.

Next up was the layout. Its marked for a 50 degree bed. I was kind of copying another jointer which had a 50 degree front face as well, so that’s what I used.

Cutting was fairly simple with the layout done. Just remember where to not cut to deep.

A little chiseling and rasping and it was ready for a trial fit.

With close to a perfect fit, I glued it up and left it for the night.

While the glue was drying I did a rough out of the wedge.

Not wanting to go much farther on the wedge, I turned my attention to the tote. I marked out a piece of oak a little over an inch thick, cut it out on the band saw. Drilled the center in a couple places and finished hogging it out with the jig saw.

I then hit the appropriate areas on both sides with a 1/2” round over bit. From there it was multiple rasps to get it into shape.

That was it for the day. The following day I turned my attention back to the body. A little hand plane work, and some belt sanding, it was really starting to take shape.

It was then time to clean up the mouth area.

And of course cut the groove for the chip breaker screw.

Final fitting and shaping on the wedge

And back to see where the tote looks good

I then drilled it out with a forstner bit and chiseled as needed.

A little more fitting on the handle and fit it to the plane.

I just couldn’t go any further with testing it.

I’ll call it a success I think.

And I tested it out on oak as well. I was really just playing at this point.

Just a bit more sanding and a coat of BLO.

Final length is just a little under 36”. 36” is quit long and a little hard to handle. I just couldn’t bring myself to cut it. It will be great for flattening big bench tops. And I like to just stand back and admire it.

I had to reshot some of the pictured when I realized the plane swap plane was in the picture. Almost gave it away!

Thanks for stopping buy.

Tool Chest Redux. Now that’s better!

So in the last post (Part 1) we left with a almost finished tote.

The tote fits nicely in the front of the chest.

And sits nicely on top when in use.

The next thing I did was cut the saw till down so it will sit in the bottom, under the sliding shelves.

So now what’s left is to figure out what tools go in it. If you look into the tote, one of the small existing shelves fit perfect for a divider.

I also had a question on the bottom of the chest. I’m not sure what or how this came about, but it has a raised panel bottom, almost like the current bottom, was a top at one time.

And I found this inside.

but haven’t decided what to do with it. If it was complete, I’d reattach it.

The extension was made from poplar.
The cover and the top is red oak.
I believe the original is pine.
I was actually thinking of painting the outside, but I came to my senses. I know it doesn’t match, but it’s close enough for me.

A vintage Wheel drive for the leg vise

Ever since I’ve seen the wheel drive like the bench craft I thought it would be pretty cool to have, as an upgrade to my leg vice. But I’m more of a vintage guy, so something that new and shinny wouldn’t fit the decor of my shop. Plus, at over $300, I find it hard to justify.

So as I saw wheels in flea markets and antique shops I’d stop and look. Most were way more than I thought they were worth, and I even bought an old tractor steering wheel, but it just didn’t seem to fit. Then one day I ran onto this in an antique shop. The price was right, so home it came.


Heavy, vintage and cool. So lets see if it will work. I had to purchase a set of larger drill bits. I needed to enlarged the hole slightly to 15/16”. A set of bits were only about $30, so I ordered them.

So I popped the pin and removed the existing handle
.
.
Made a new cherry knob.
.


.

And what do you know. A working vintage wheeled leg vice.
.
.

.

WP_20130120_013

Thanks for stopping by.

Shop built Thickness-Drum Sander

I’ve decided to build a thickness planer. There are many posted here on the net and I’ve looked at a lot of them. (maybe all, at least all I could find)


-Thank You for all those that posted their builds. The ideas and processes have been very helpful.


the drum will be made from 5” maple disk. Total sanding width will be 18”


I seen one model built with the pulley built right into the wood drum. The more I though about it the more I liked the idea. This allows the drive force to be on the drum itself. The shaft is no longer driving the drum, the drum drives the shaft, which is just there to keep it in place.

You’ll note the drum hasn’t been trued up yet. My original plan was to glue 2 un-drilled ends and turn it on the lathe, but once I got that far I realized there was a good chance the holes wouldn’t get lined up right. I’ll true it once its on the base.

So a few other questions.
I plan to set the pivot point of the deck on a full length 5/8” shaft at the back of the unit. I’ve got a few pieces of harden shaft laying around and figured the full length will help racking a little.

I also figured I could make a series of holes so the shaft could be pulled out, and the deck could then be moved to a lower or higher position for thicker or thinner pieces. My concern is I haven’t seen this done, and it seems logical. What would the negative be?

There is one sander made that has a plexiglass dust shield. I like the idea, but plexiglass is getting pretty expensive locally. Besides the “cool” factor, what are the advantages?

I was thinking of painting (easy Smit) the sander, maybe a machine grey. Thoughts. Should I paint it or leave it natural and just oil it.

For now I only have a 1/6 hp motor. I know that won’t cut it, so I need to find another. What is the smallest you would use, and what’s recommended?

And here is truing up the drum


Here is the deck, all glued up.

And as the glue was drying I made the scissor lever for the height adjuster. I got them cut and welded together

And progress otherwise.

Not much left to do until I get some sand paper and decide on a motor

A new set of Maple totes

I made these from a piece of Maple for a customer. They are made from Pacific Northwest Big Leaf Maple, with a quilted figure. The wood is furry sometimes and other times it hard as a rock.

Its like working with cherry that grows hair. Burns like cherry, cuts like weeping willow(maybe green weeping willow). And its like eating spaghetti with a white shirt on. Its the first time I’ve had to wash my hands to go to the shop.

WP_003182WP_003181

Here they are on one of my #5’s

WP_003178WP_003174WP_003175WP_003176WP_003177


Thanks for looking

dw

A new knob and tote for a Stanley #4 1/2

Made from Cherry. It won’t replace the rosewood on this plane, but another just like it.

Bedrock #608 fence.

My Bedrock #608 came with 2 holes drilled in one side. Perfect for a fence, and I’m sure that’s why they were drilled.

WP_001861WP_001862

WP_001863WP_001864WP_001865


WP_20130120_016

WP_20130120_013

York Pitch Shop make Smoother

For a while I’ve wanted to try a 55 degree high angle frog plane. I had thought about building one, but I’ve never really been taken by the hammer adjuster type planes. I have a lot of them, and I do use them once in a while, but truth be told, I prefer the Stanley type blade adjustment. I even prefer it over the Norris type adjusters.

I decided to try using a typical frog on a wooden plane. As I was designing it, I decided on a transitional frog, because it gave more wood under the frog.

Main body is white oak, front body is wenge, and sides are maple.

Finish is BLO.

clip_image002clip_image004clip_image006clip_image008clip_image010clip_image012clip_image014clip_image016clip_image018clip_image020clip_image022clip_image024clip_image026WP_001380WP_001378WP_001379

Panel Raising Plane.

I’ve bid on some panel raising planes but the prices always seem to be out of reach. I decided to convert a wood bodied plane I had restored a while ago.

WP_000839

This is the plane I started with.

WP_000840

I cut a groove on the side toward the raised panel and sharpened the blade on that side as well.

102_1766

I cut it on the table saw and finished it up with my new Veritas shoulder plane.
WP_000976

I added a nicker to cut the line around the panel. I tried it without it and got some fur on softwood.
WP_000989

I then added a piece on the other side that would wrap around the bottom and form the fence.
102_1767


I then clean it up down to the line. The line, all the way around, it’s the width (typically 1/4”). I used my Veritas Plane’>Veritas small shoulder plane

WP_000976

I cut the panel with the panel raiser, then clean it up with one of the 3 planes (#62, #604 or shoulder) I find the #62 works best on the end grain typically, and my 604 works best on the long grain. I use the shoulder plane to clean up around the raise.


Ground the cutter

102_1768WP_000977

The picture below shows where cleanup will be needed with the shoulder plane.


WP_000983

WP_000981WP_000982

I raised 2 test panels so far, one in pine and one in oak (oak is a real small one). I need to find a more convenient way to raise and lower the spur blade, but it works well enough that I will use it until I do.


WP_000979WP_000978

Thanks for looking.